The most interesting ombre nail designs give you more than two colors sharing a nail.
They create a little movement: blush dissolving into milk, raspberry warming into peach, or deep plum catching a veil of rosy light. Even familiar shades feel different when the transition, shape, and finish work together.
This collection explores six distinct ways to wear that effect, from a quiet French fade to matte coffee tones and blue gradients dotted with silver stars.
You’ll find shorter squoval shapes alongside almond, oval, and coffin silhouettes, plus details worth discussing with your nail artist. Look for the color story that catches your eye, then use the accompanying tips to make its proportions and finish work for your own manicure.
The Inspiration Behind These Looks
These looks began with contrasts you can almost feel: porcelain and blush, fruit-bright color and glossy ceramic, soft lavender and the cool sheen of a pearl. The goal was to give each gradient its own personality through finish as much as color.
A matte surface makes espresso and caramel feel grounded; a pearlescent veil brings lavender and mint closer together.
Elsewhere, miniature silver stars add a focal point without covering the fade. Every design keeps a visible transition within each nail, with enough space for both shades to register.
1. Blush-to-Milk French Ombré Almond Nails
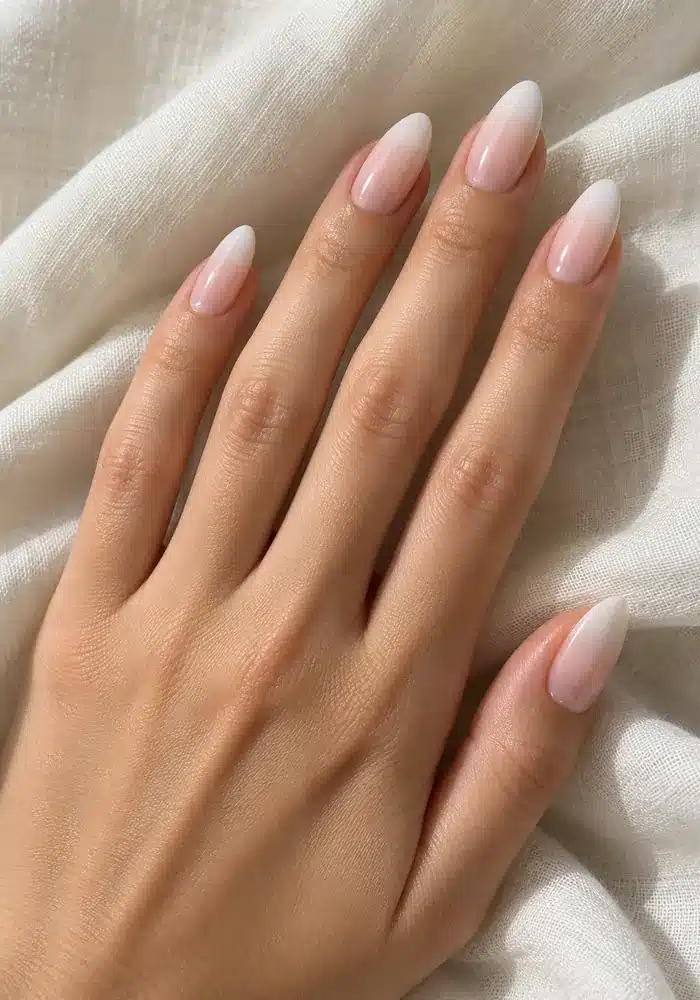
A French manicure becomes softer when its white edge dissolves into the base.
Here, warm blush pink gives way to milky tips across medium-length almond nails, with a glossy finish that makes the transition look almost translucent.
The almond outline gives the fade room to breathe without making the white section feel broad or blocky.
For the same mood on shorter nails, keep the pale tip shallow and the pink visible; the balance matters more than copying the exact length.
The Pretty Tip: Ask your nail artist to compare a peachier blush and a cooler rose against your hand before blending; sheer pinks can read differently over natural nails.
2. Raspberry-to-Peach Ombré Squoval Nails
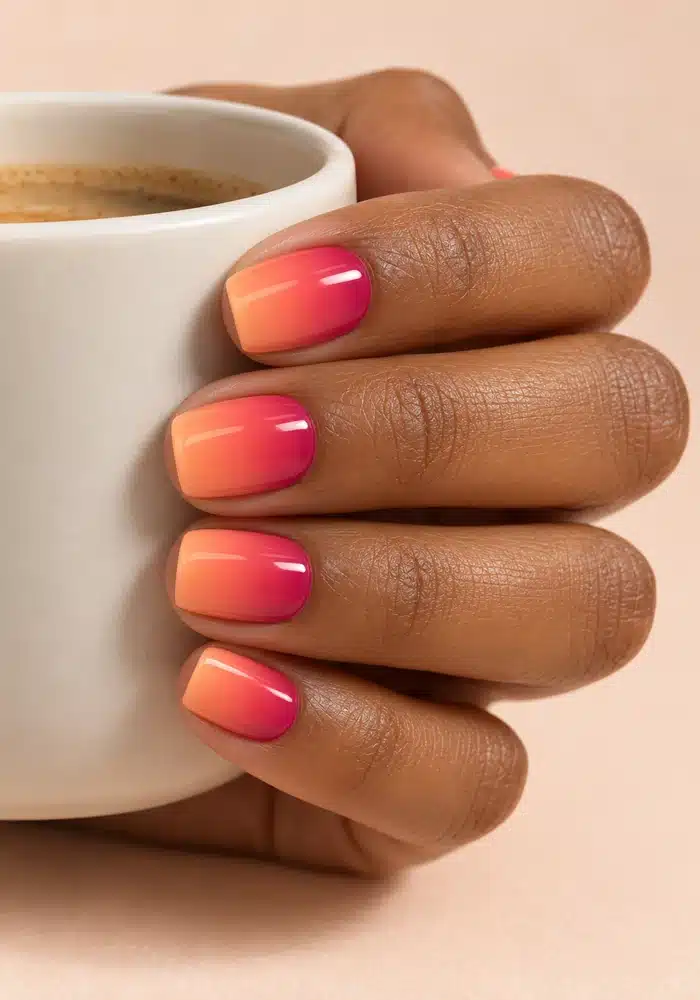
Raspberry and peach make a lively pair because the coral between them feels like part of the palette.
The deeper pink sits near the cuticle, then warms gradually toward the free edge, giving these squoval nails a juicy, lacquered look.
Rounded corners keep the shorter silhouette easygoing, while the saturated color supplies the drama.
There’s no need for an accent nail here: repeating the same fade across the hand gives the manicure its rhythm and lets those peach tips stand out.
The Pretty Tip: Request a sample nail with a generous coral transition. If raspberry meets pale peach too abruptly, the contrast can read as a stripe instead of a fade.
3. Lavender-to-Mint Pearl Chrome Ombré Nails
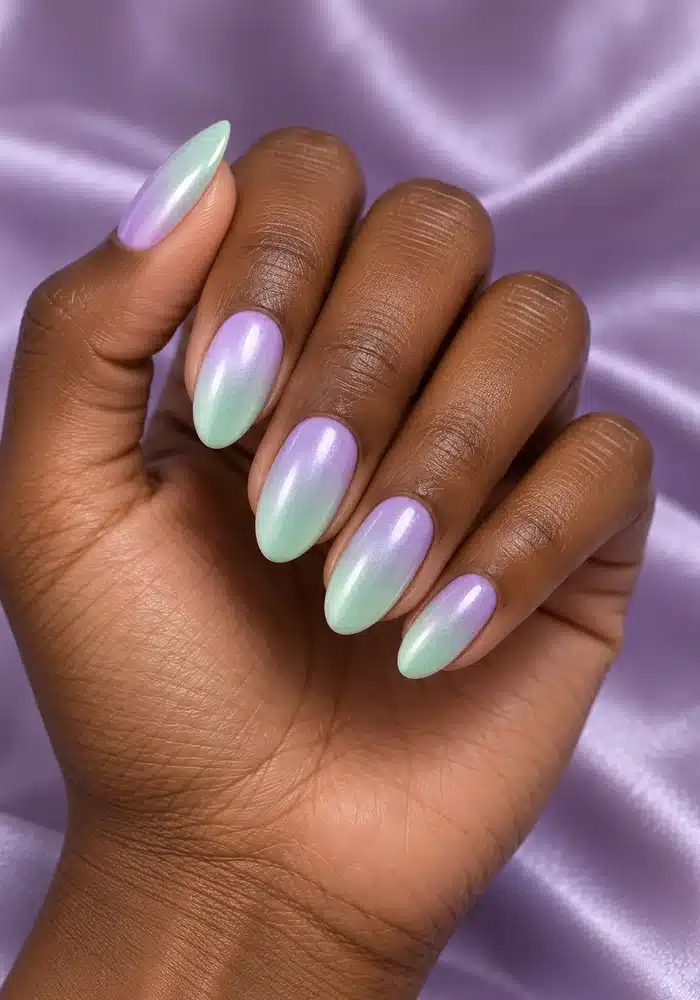
Lavender and mint share a cool softness, but their pearlescent finish gives this pairing a more dimensional personality.
Color remains visible beneath the pale, light-catching veil: lavender gathers around the cuticle, while mint brightens the almond tips.
A sheer pearl effect keeps the pastel transition readable and introduces a gentle reflective highlight. This is a useful reference if you like expressive color without a busy pattern.
Keep the nail lengths consistent so the two shades occupy similar proportions from finger to finger.
The Pretty Tip: Ask to see the pearl finish over the actual gradient swatch; an opaque silver chrome can conceal the pastel colors you wanted to highlight.
4. Espresso-to-Caramel Matte Ombré Coffin Nails
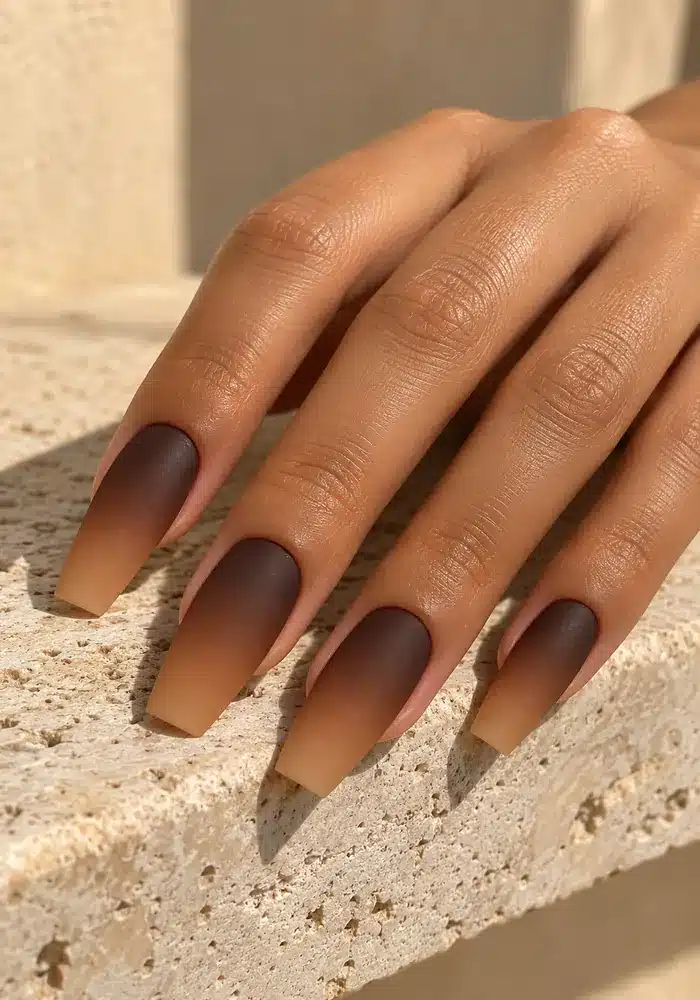
Think of this as a tonal study in coffee, with the shine turned down. Dark espresso frames the cuticle before melting through chestnut into caramel at the squared tips.
The coffin shape gives the blend a defined outline, while the matte surface makes its changes in depth easier to appreciate without bright reflections crossing the color.
It’s a strong option for someone who enjoys neutrals with presence. A warm caramel keeps the palette cohesive; a gray-beige tip would take the same idea in a cooler direction.
The Pretty Tip: Choose your brown shades on a swatch finished with the intended matte topcoat; judging glossy samples alone can make the final depth harder to anticipate.
5. Midnight-to-Ice Blue Ombré Nails With Silver Stars
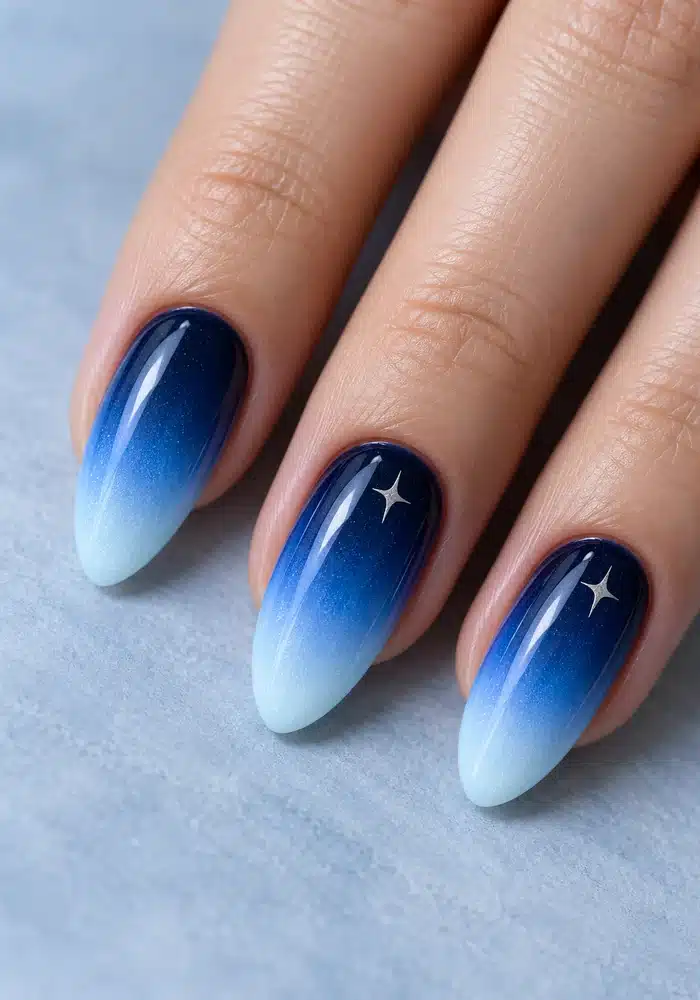
A tiny silver star has more impact when there’s breathing room around it. This midnight-to-ice-blue gradient places the deepest navy near the cuticle, leaving a dark backdrop for the two small star accents.
Cobalt carries the color toward pale blue tips, and a fine shimmer gives the glossy surface a subtle sense of depth. The almond shape keeps the composition flowing toward a point.
Limiting the stars to two nails preserves the fade as the main feature while adding a little celestial character.
The Pretty Tip: Choose flat four-point decals small enough to leave blue visible on every side, and position them on the navy area for a clearer outline.
6. Plum-to-Rose Velvet Ombré Oval Nails
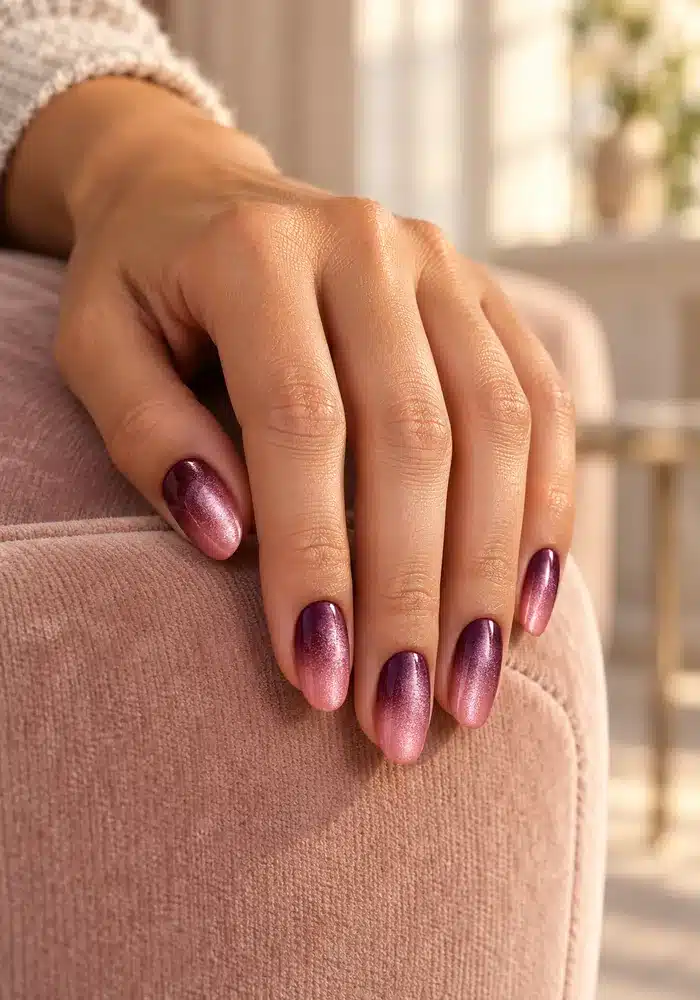
If you love the richness of plum but want a lighter finish at the fingertips, this rosy fade is an inviting middle ground.
Deep purple near the cuticle softens into dusky pink across a medium-length oval shape, with fine magnetic shimmer lending the surface a velvet-like glow.
Broad areas of light keep the effect soft and let the color transition remain visible. Compared with the pearly lavender look, this version has more depth and warmth, making it particularly expressive beside simple cream or charcoal clothing.
The Pretty Tip: Bring a reference showing broad velvet shimmer, and ask your technician to avoid a sharply defined cat-eye stripe that would compete with the two-color blend.
Find Your Favorite Way to Fade
Start with the detail you want to notice most: a barely-there French fade, a bright fruit-inspired palette, a pearl reflection, or the depth of matte brown. Shape comes next. You can borrow the colors from one look and adapt their proportions to the length you actually enjoy wearing.
Save your favorite full-hand image along with a close view of its finish before your appointment. Together, they give your nail artist a clearer picture of the gradient, silhouette, and amount of shine you have in mind.
